




Blog
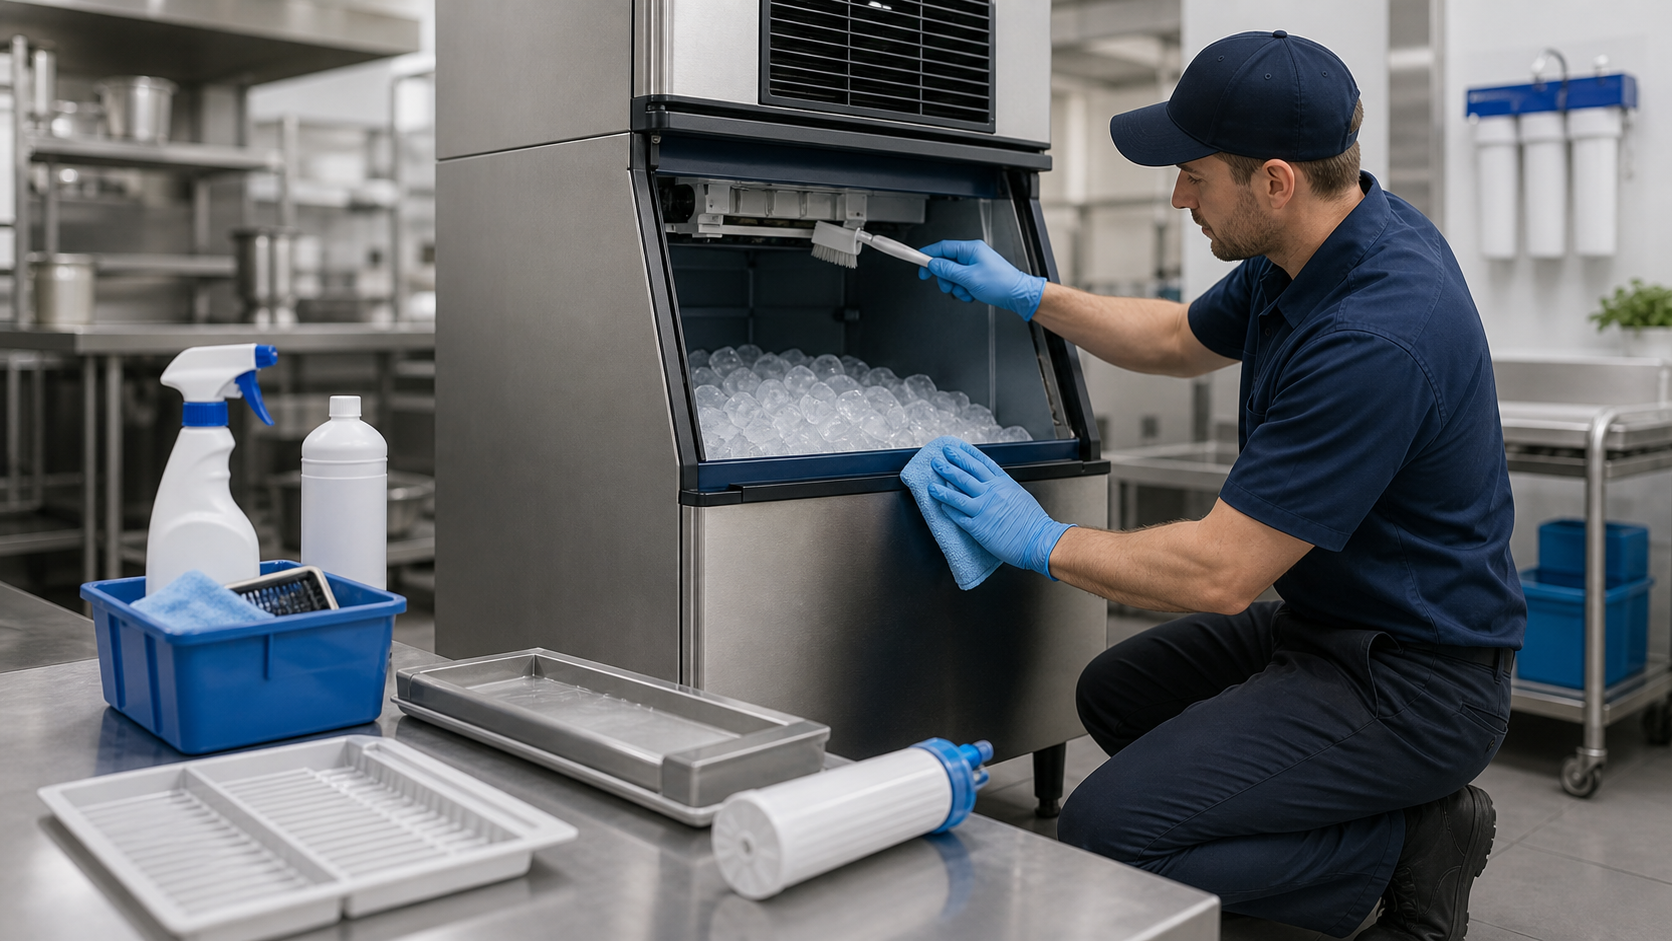
Step-by-step routine to clean, descale and sanitize a commercial ice machine, with FDA Food Code frequency, a cleaning log template and mold prevention tips.
Learning how to clean a commercial ice machine means running three jobs on a schedule. First, remove scale and soil from the water system with the manufacturer’s cleaner. Second, sanitize every surface the ice touches. Third, keep the scoop, bin door and gasket from carrying contamination back in. The machine’s manual sets the method and the interval. This guide turns the manual into a routine a shift lead can run, with a cleaning log, a mold and slime prevention plan, and clear limits on what staff should leave to a technician.
Cleaning, sanitizing and descaling are different jobs
The FDA Food Code defines ice as food, so the machine’s ice-contact surfaces follow food-contact rules. That makes three separate tasks, and they are easy to confuse:
| Job | What it does | What you use | When |
|---|---|---|---|
| Cleaning | Removes visible soil, film and slime from surfaces | Detergent or cleaner, soft brush, cloths, rinse water | Before sanitizing, every time |
| Descaling | Dissolves mineral scale in the water system and on the freezing surface | Manufacturer-approved or food-grade ice machine cleaner, circulated by the cleaning cycle | On the manual’s interval, sooner with hard water |
| Sanitizing | Reduces microorganisms on surfaces that are already clean | Food-grade sanitizer at label strength and contact time | After cleaning; Food Code § 4-702.11 requires sanitizing before use after cleaning |
Never mix cleaner and sanitizer, and never skip the rinse between them. Sanitizer applied over film or scale reaches the film, not the surface underneath.
How often to clean a commercial ice machine
Start with the manual. The FDA Food Code 2022, § 4-602.11(E)(4), lists ice bins and the enclosed components of ice makers among equipment that must be cleaned at a frequency specified by the manufacturer or, absent manufacturer specifications, at a frequency necessary to preclude accumulation of soil or mold. The same section requires cleaning at any time contamination may have occurred, and at least every 24 hours for consumer self-service scoops. Your state or county adopts its own version of the Code, so check local rules as well.
For Smartool machines, the Smartool ice machine maintenance guide sets a practical baseline:
- Daily: wipe the exterior with a clean, damp cloth, keep the area around the machine clear, and check that cubes are fully formed, clear and odor-free.
- Per manual: clean the water system with a food-grade ice machine cleaner.
- Condenser: every two weeks in dusty kitchens, monthly in normal conditions, with power disconnected.
- Monthly to quarterly: replace the water inlet filter on its service life, usually 3 to 6 months, and sanitize the storage bin walls and ice chute with a food-grade sanitizer.
Clean early whenever you see cloudy, thin or odorous ice, visible slime, or drain backups. Also clean after water main work or a boil-water notice, and after the machine has sat idle.
What gets cleaned, part by part
A clean water system does not help if the scoop sits in the ice or the gasket is black with film. Cover every point of contact:
- Storage bin and chute: wash, rinse and sanitize the walls, floor and ice chute; pay attention to corners and the seam under the door.
- Scoop and holder: wash, rinse and sanitize both. The holder collects meltwater and grows film faster than the scoop.
- Door, handle and gasket: the gasket fold stays damp and is a common place for pink or black film to start.
- Exterior: daily wipe, with extra attention to the handle and the top surface, where items get set down.
- Water system: use the machine’s cleaning cycle with the approved cleaner. Staff should not open panels to reach it by hand.
- Condenser: brush and vacuum the fins with power disconnected.
- Drain and air gap: check that water leaves freely and nothing has bridged the gap to the floor drain.
How to clean a commercial ice machine: the operator routine
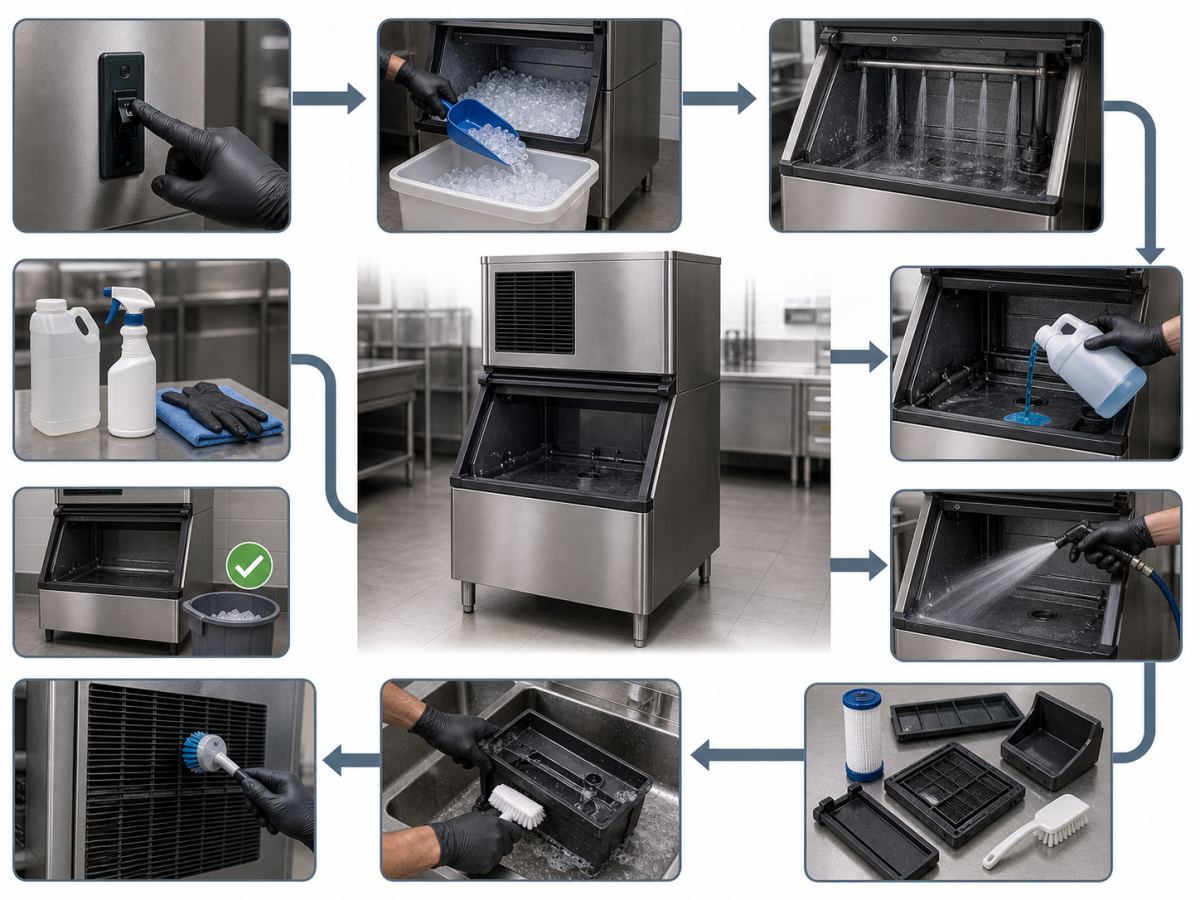
Use this sequence for the scheduled water-system clean. Where your manual gives a different order, dose or time, follow the manual.
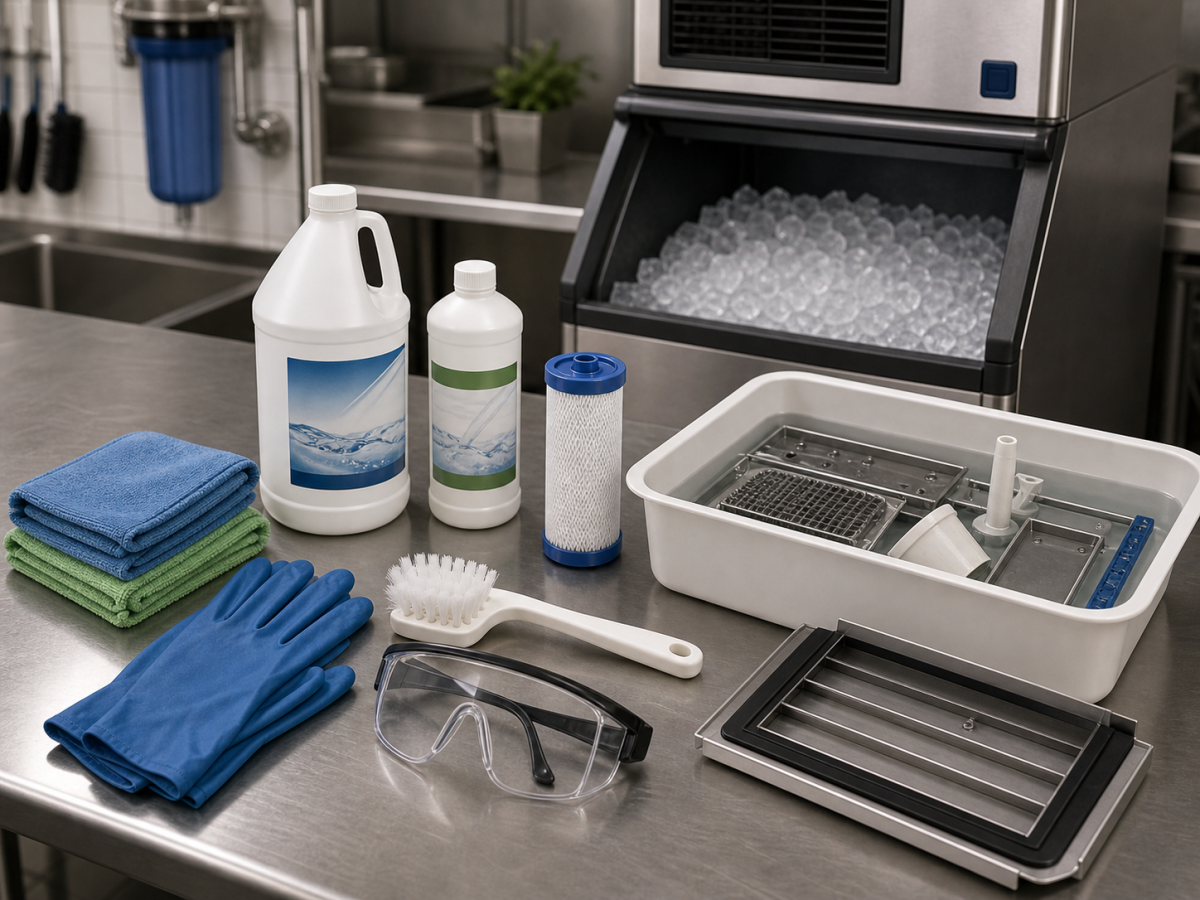
- Prepare. Read the cleaning section of the model’s manual. Set out the approved ice machine cleaner, a food-grade sanitizer, a soft nylon brush, clean cloths, gloves and eye protection.
- Stop production and empty the bin. Discard the ice. Do not save it in buckets for later use; cleaner can splash or drip into it.
- Run the cleaning cycle. Mix the cleaner with warm water as the label directs and pour it into the reservoir. Smartool’s guide describes running the built-in cleaning function, or circulating the solution for about 30 minutes on a machine without one, then draining it. Do not use strong acidic household descalers such as toilet bowl cleaners; they can corrode internal piping.
- Rinse the water system. Refill with plenty of clean water, run for 10 to 15 minutes and drain. Repeat one or two times until no cleaner residue remains.
- Clean and sanitize the bin, chute, door and gasket. Wash with a soft brush, rinse, then apply sanitizer and leave it for the contact time on the label. Avoid wire brushes and abrasive pads, which scratch surfaces and give film a place to hold on.
- Handle removable parts only as the manual allows. If the manual identifies operator-removable parts, wash, rinse, sanitize and air-dry them before reinstalling. Leave anything held by screws or wiring alone.
- Service the scoop and holder. Wash, rinse and sanitize both, then store the scoop in a clean, protected location outside the ice.
- Clean the condenser when it is due. Disconnect power, brush the fins gently, then vacuum the loosened dust.
- Restart and check the first harvest. Restore water and power and discard the first batch of ice, or more if the manual says so. The ice that follows should be clear and odor-free. Record the clean in the log.
Commercial ice machine cleaning schedule and log
A written schedule stops cleaning from depending on who is on shift. It also gives an inspector a record of when the machine was last cleaned. Adjust the intervals to your manual, then post the table next to the machine.
| Task | Frequency | Who | Product or tool | Done when |
|---|---|---|---|---|
| Wipe exterior, handle and top | Daily | Closing staff | Clean damp cloth | No residue or sticky spots |
| Check ice quality and bin for film | Every shift | Shift lead | Flashlight | Cubes clear, full and odor-free; no pink, black or brown film |
| Wash, rinse and sanitize scoop and holder | At least daily; every 24 hours for self-service scoops | Closing staff | Warewashing sink, sanitizer | Scoop stored outside the ice, holder dry inside |
| Wipe door and gasket | Daily | Closing staff | Cloth, sanitizer | No film in the gasket fold |
| Check drain and air gap | Weekly | Shift lead | Visual check | Water drains freely; gap is open |
| Water-system cleaning cycle and rinses | Per manual | Trained staff | Approved ice machine cleaner | Cycle complete, 1–2 rinses, first batch discarded |
| Clean and sanitize bin walls and chute | Per manual; monthly to quarterly in Smartool’s guide, sooner if film returns | Trained staff | Brush, food-grade sanitizer | Contact time met, surfaces air-dried |
| Brush and vacuum condenser (power off) | Every 2 weeks in dusty kitchens; monthly otherwise | Trained staff | Soft brush, vacuum | Fins visibly clear |
| Replace water filter cartridge | Per filter service life, usually 3–6 months | Trained staff or service provider | Replacement cartridge | Date written on the cartridge |
| Technician inspection | Per manual or service agreement | Qualified technician | Service visit | Report filed with the log |
Keep a running log beside the schedule. One line per task is enough:
| Date | Task | Product and dilution | Cycle or contact time | Initials | Notes (film found, parts worn, follow-up) |
|---|---|---|---|---|---|
Staff time, cleaner, sanitizer and filters are recurring costs. Put them in your equipment budget with the commercial ice machine cost and TCO worksheet.
Preventing mold and slime between cleanings
The pink, orange, brown or black film that shows up on bin walls, gaskets and drain lines is a biofilm. It grows where the machine stays damp and something feeds it. Cleaning removes it; prevention decides how fast it comes back.
Where contamination comes from
The CDC’s environmental infection control guidelines on water and ice machines identify the two main sources of microorganisms in ice as the potable water it is made from and organisms transferred from hands. The same guidelines link contaminated ice machines to Legionella and other waterborne organisms in healthcare settings, and recommend periodic cleaning and automatic dispensers in patient areas.
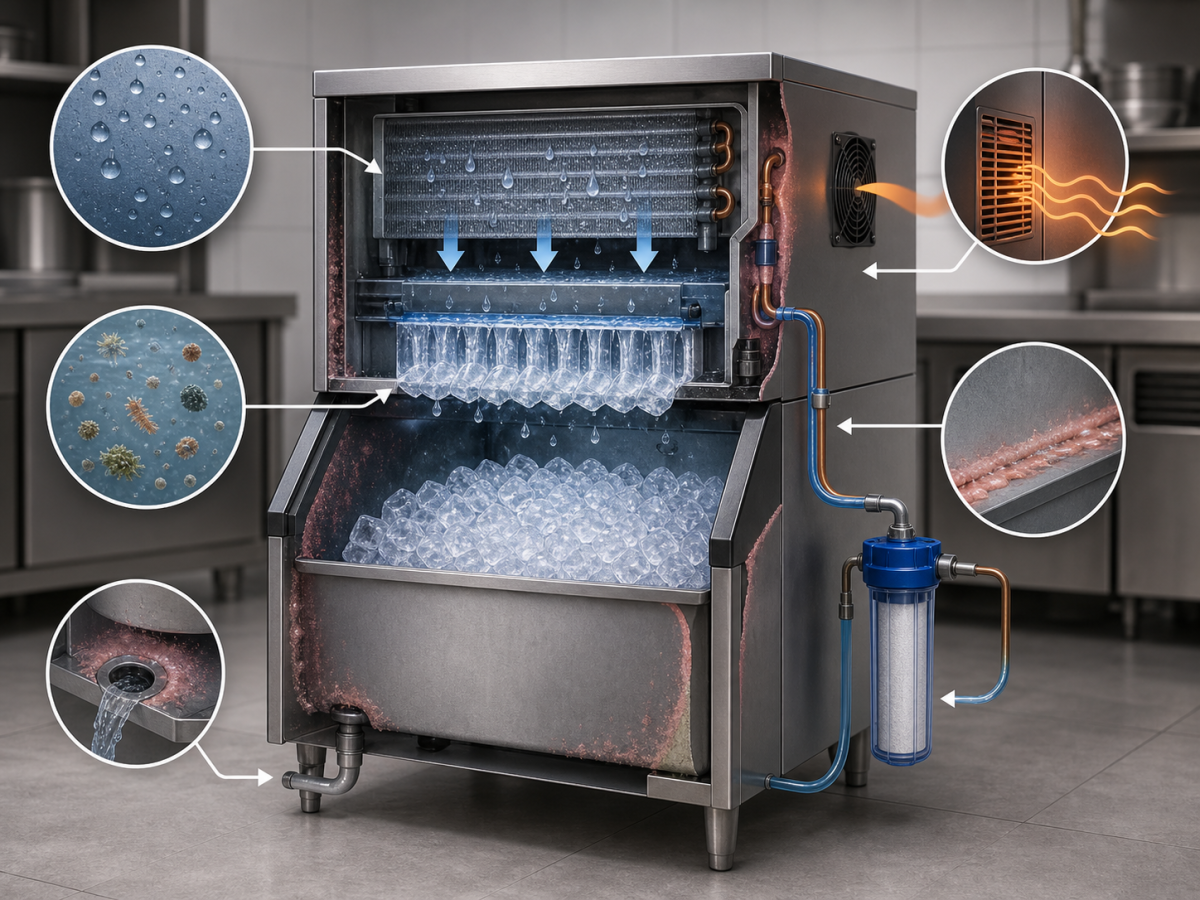
In a working kitchen, the usual causes are predictable:
- Airborne yeast and flour: bakeries, pizza kitchens and breweries put yeast and fine particles into the air, and the machine pulls them in.
- Warm, humid rooms: heat from nearby cooking equipment raises cabinet temperatures and condensation.
- Splash and sugar: bar stations next to the bin door add syrup, juice and fruit residue.
- Standing water: slow drains, a blocked air gap or water pooling under the bin.
- Hands and scoops: a scoop left in the ice, glassware used as a scoop, or bare hands reaching into the bin.
- Low turnover: ice and water that sit for days during slow periods or seasonal closures.
Prevention habits that work
- Place the machine away from proofing areas, dish machines and fryers, and keep the door closed except when scooping.
- Store the scoop in an external holder, handle out, and never scoop with a glass.
- Check the drain and air gap weekly and clear debris before water backs up.
- Keep the condenser clean and the airflow open. The Department of Energy’s FEMP guidance on air-cooled ice machines notes that placing a unit too close to a wall or low ceiling obstructs airflow and cuts efficiency.
- If film returns before the next scheduled clean, shorten the interval. That is what “a frequency necessary to preclude accumulation of soil or mold” means in practice.
- Before a closure, clean the water system, drain it, and leave the door slightly open in a dry, ventilated space, as Smartool’s maintenance guide recommends for long-term storage.
Water filtration and scale
Scale deposits give biofilm a rough surface to anchor to and slow the freezing cycle. A water inlet filter replaced on its service life is the most effective way to reduce scale formation, according to Smartool’s maintenance guide. Hard-water sites should expect to run the descaling cycle at the short end of the manual’s range.
Sanitation design matters when you buy the next machine as well. NSF/ANSI 12 sets minimum food protection and sanitation requirements for the materials, design, construction and performance of automatic ice making equipment. The design standard covers how the machine is built; your schedule covers how it is kept.
When to stop and call a technician
Operator cleaning stops at the panels. Smartool’s ice maker troubleshooting guide draws the line clearly. User checks cover the water supply, filter screen, room temperature, inlet filter and visible scale. Engineer checks cover the inlet valve, refrigerant leaks, sensors, the pump and the hot gas valve.
Stop and call a qualified technician or Smartool support if you see any of these:
- Water leaking from inside the cabinet, or ice that will not release after a full cleaning cycle
- A water-shortage alert that repeats while the supply valve is open and the filter is new
- Hissing, an oily residue, frost in unusual places, or a burning smell
- Tripped breakers, blown fuses or any damage to wiring
- Slime or scale on parts you cannot reach without tools
Refrigerant, electrical components and internal valves are technician work. For symptoms that do not need the machine opened, the ice machine fault diagnosis tool narrows down likely causes first.
How BF500 and BF360 features fit the routine
Smartool’s split-type ice makers include features that shorten the routine above. The Smartool BF500 500 lb split-type ice maker has an automatic self-cleaning function. The BF360 360 lb split-head ice maker has an automatic cleaning function. Use that cycle for the water-system clean with a food-grade ice machine cleaner, following the manual and the steps above.
Both models add water-shortage and ice-full alerts, which flag a closed valve or a clogged filter before the bin runs empty. A 48-hour timer lets you schedule production around cleaning and slow days. Nickel-plated copper ice trays and a stainless steel body are part of the build. The bin, scoop, door and drain are still hands-on work, so keep them on the log.
Placement affects how often you clean. Heat and dust load up the condenser, and warm rooms also cut output, as explained in the guide to protecting ice machine output in summer heat.
Ice machine cleaning questions from operators
Can I use vinegar or a household descaler?
No. Use the manufacturer-approved or food-grade ice machine cleaner named in the manual. Smartool’s guide specifically warns against strong acidic household descalers because they can corrode internal piping.
Does an automatic cleaning function replace manual sanitizing?
No. The cleaning cycle handles the water system. The bin walls, chute, door, gasket, scoop and holder still need to be washed and sanitized by hand on schedule.
Do I need to throw out ice after cleaning?
Yes. Discard the ice in the bin before you start and the first batch after restart, or more if the manual specifies. That keeps cleaner and sanitizer residue out of drinks.
If you are replacing a machine that is hard to keep clean, compare factory-direct commercial ice makers with built-in cleaning functions and alerts. Tell us your daily ice demand and site conditions to request a commercial ice machine quote.
Factory-direct from Smartool
Planning a commercial equipment purchase?
Share your site conditions, daily output and budget. Our team will match a model, send the spec sheets and quote factory-direct pricing.

Written by
Senior Engineer, Smartool
Jason is a senior engineer at Smartool. He works on the commercial ice machines, soft serve and slushy machines, and refrigerated prep tables Smartool builds for restaurants, bars, hotels and dessert shops. His guides look at equipment from the engineering side: how to size a machine for a site, what it needs for power, water and airflow, and how to keep it running through busy service. He also helps buyers match the right model to their kitchen before they request a quote.
.elementor-76528 .elementor-element.elementor-element-5c7a0d0{--display:flex;--flex-direction:column;--container-widget-width:100%;--container-widget-height:initial;--container-widget-flex-grow:0;--container-widget-align-self:initial;--flex-wrap-mobile:wrap;}.elementor-76528 .elementor-element.elementor-element-5c7a0d1 .elementor-toc__header-title{text-align:start;}.elementor-76528 .elementor-element.elementor-element-5c7a0d1 .elementor-toc__header{flex-direction:row;}.elementor-76528 .elementor-element.elementor-element-5c7a0d1{--item-text-hover-decoration:underline;}
On this page
Need pricing for your project?
Get a factory-direct quote on commercial ice makers, soft serve and slushy machines, and refrigerated prep tables.
✓ Model matching and spec sheets for your site
✓ US office in City of Industry, CA
✓ Talk to an expert: +1 (872) 221-0051
Browse by topic
Ice Machine Guides
Soft Serve & Ice Cream
Slushy & Frozen Drinks
Buying & Sourcing
Compliance & Maintenance
Related posts

Ice Machine Freezing Up? Causes, Safe Checks and Fixes
Ice machine freezing up? Learn the six common causes, what staff can safely check, what needs a technician, and how to prevent repeat freeze-ups.

How to Use a Margarita Machine or Slush Machine
How to use a margarita machine or slush machine: setup, mixing and filling, freeze time, consistency, dispensing, refills and the closing routine.
10 thoughts on “How to Clean a Commercial Ice Machine: Schedule & Log”
Comments are closed.